Building a flight case involves several steps, from planning and gathering materials to cutting, assembling, and finishing the case. Here’s a basic guide on how to build a custom flight case:
1. Planning and Design
-
Determine the Purpose: Identify what you need the flight case for—whether it’s for transporting musical instruments, electronic equipment, or other fragile items. This will influence the size, shape, and interior design.
-
Take Measurements: Measure the items that will be stored in the case to ensure a proper fit. Consider adding extra space for padding and protection.
-
Choose a Design: Decide on the case’s design, including how it will open (e.g., top-loading or side-loading) and whether it will have compartments or dividers.
2. Materials Needed
-
Plywood or Laminated Panels: Typically 9mm or 12mm thick, depending on the size and strength required.
-
Aluminum Extrusions: Used for reinforcing the edges and corners.
-
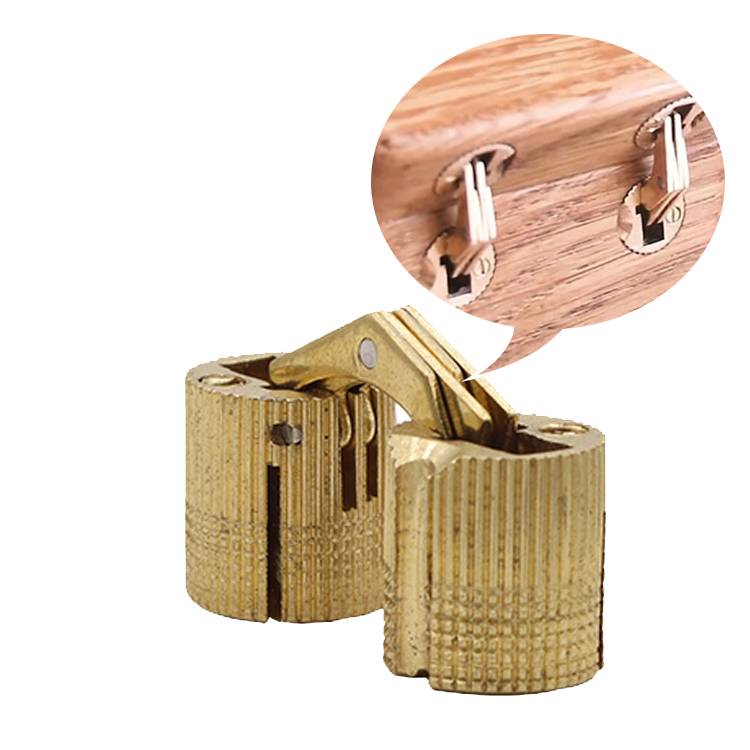
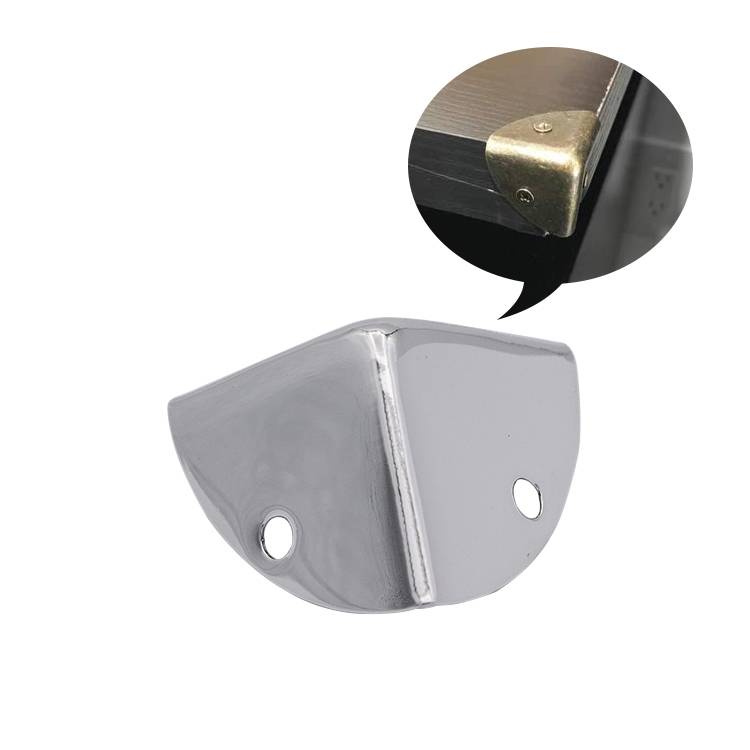
Corner Pieces and Ball Corners: Provide additional protection at the corners.
-
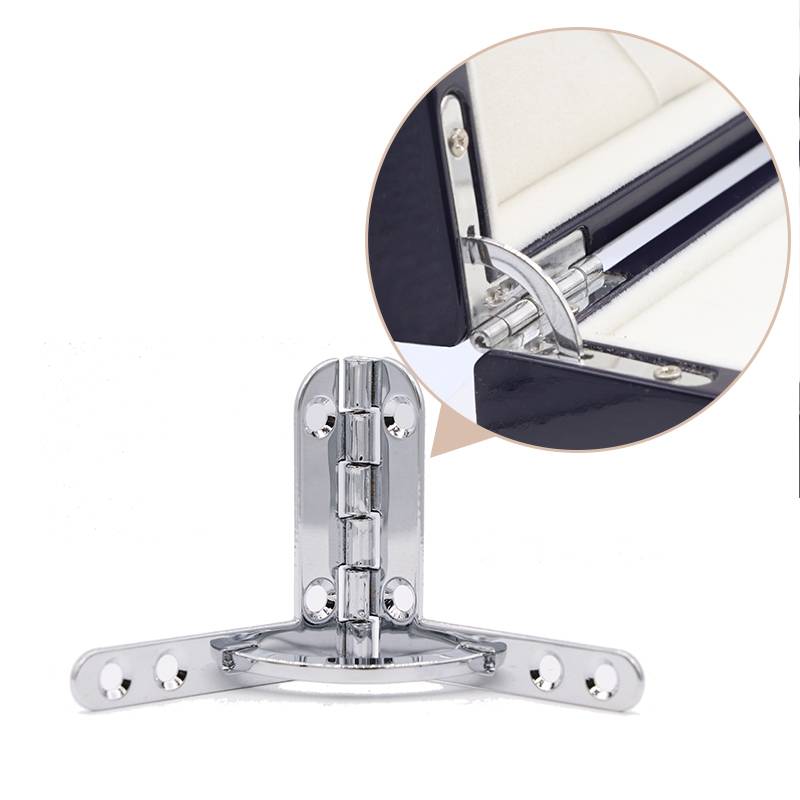
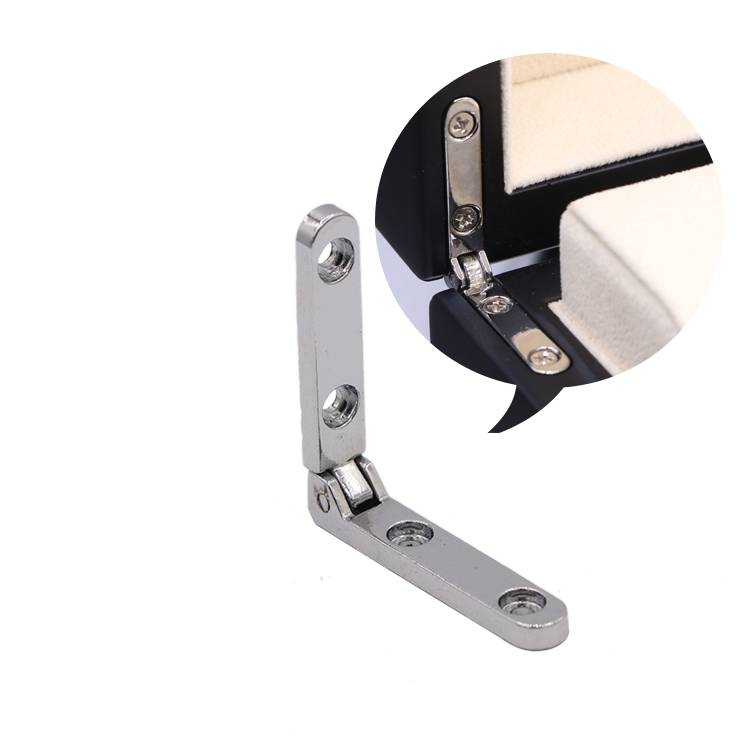
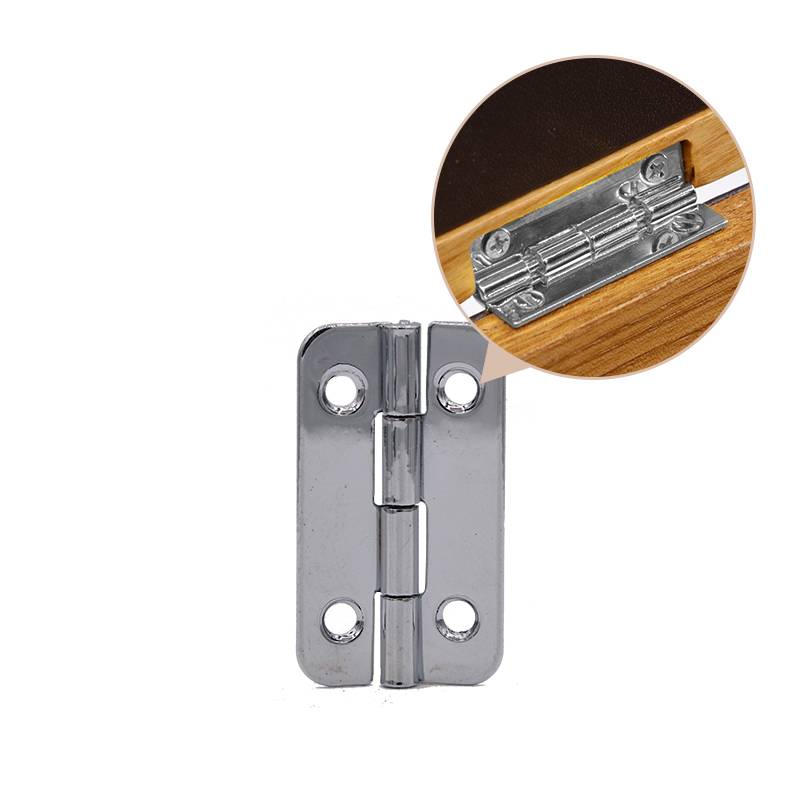
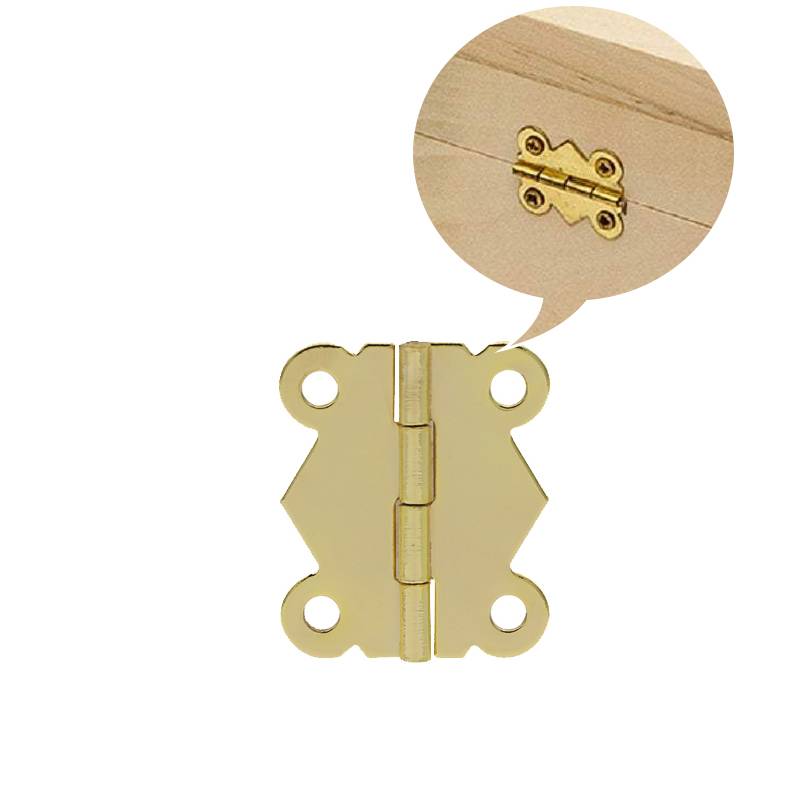
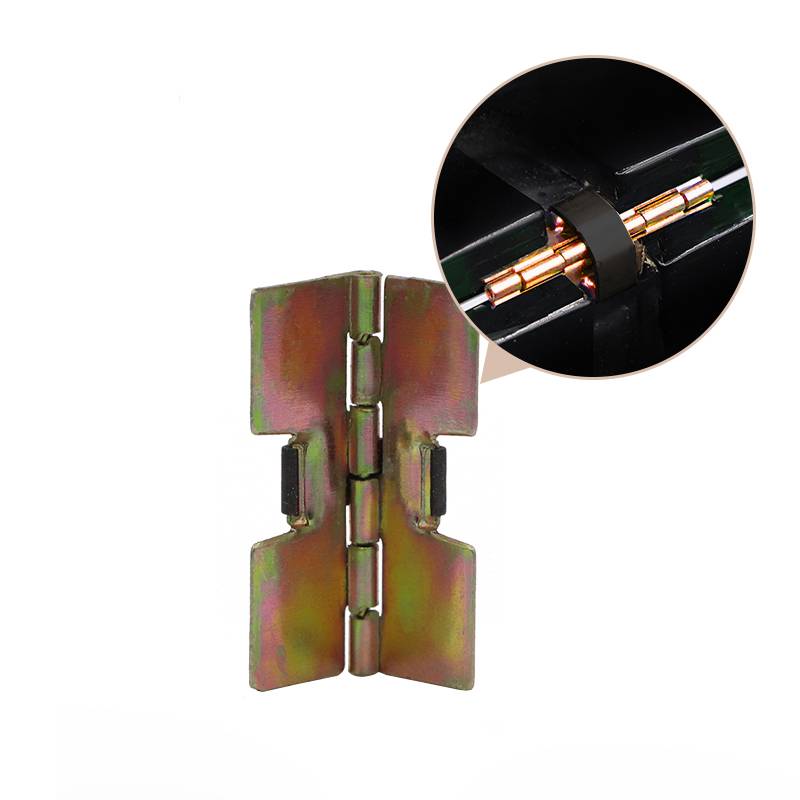
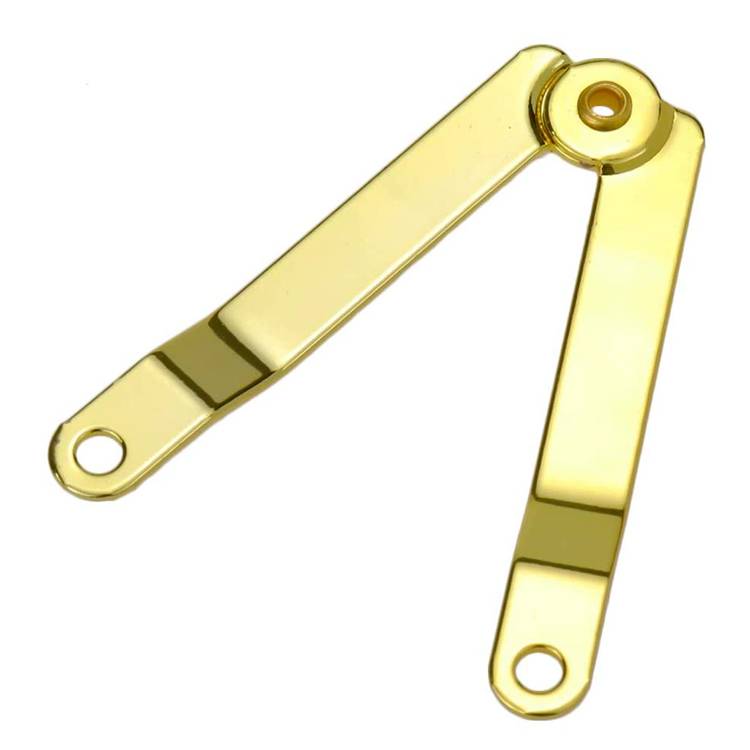
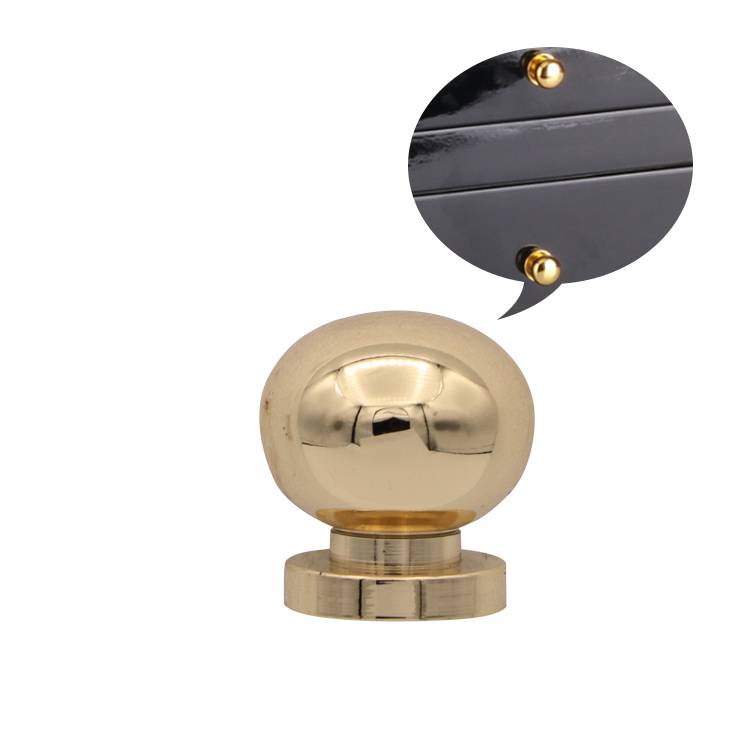
Lid Support Hinges: To hold the lid open securely.
-
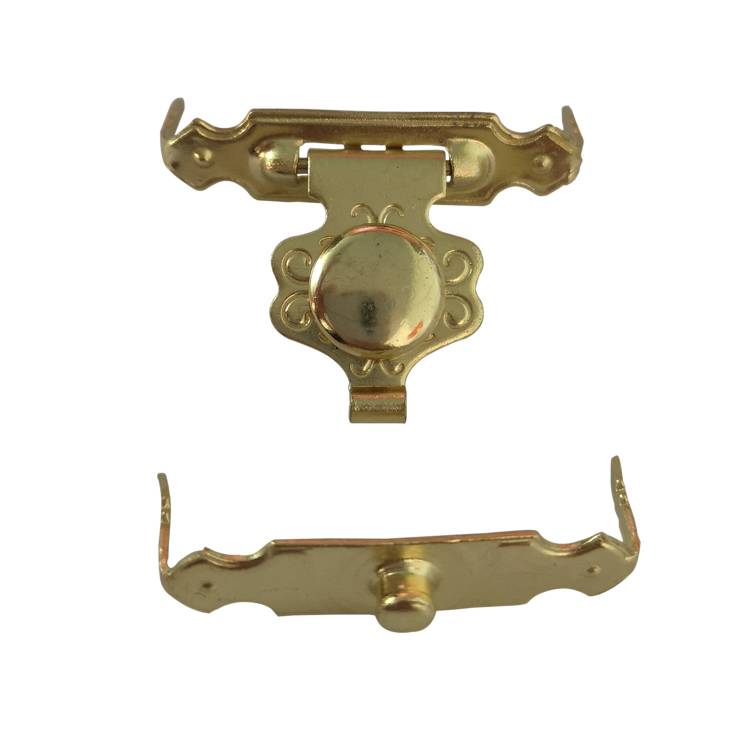
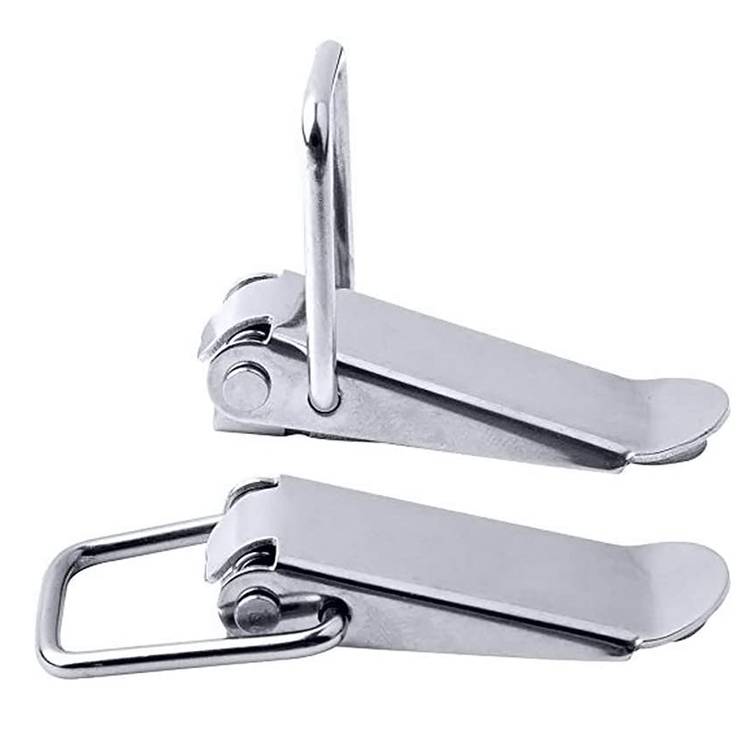
Butterfly Latches: For securely closing the case.
-
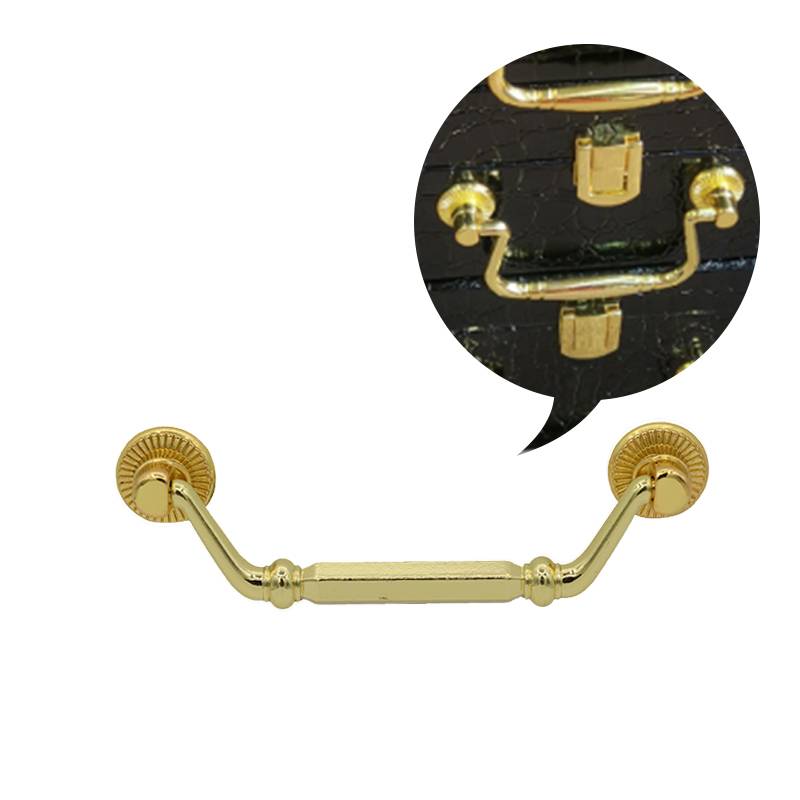
Handles: Recessed handles for carrying the case.
-
Foam Padding: For internal protection.
-
Rivets and Screws: For assembly.
-
Wheels/Casters (Optional): If the case is large and heavy.
3. Tools Needed
-
Saw (Circular or Table Saw): For cutting the plywood or panels.
-
Drill and Drill Bits: For making holes for screws and rivets.
-
Rivet Gun: For securing the hardware.
-
Measuring Tape and Ruler: For accurate measurements.
-
Screwdriver: For assembling the case.
-
Clamps: To hold pieces in place during assembly.
4. Cutting the Panels
-
Measure and Mark: Based on your design, mark the plywood or panels for cutting.
-
Cut the Panels: Use a saw to cut the pieces to size. You’ll need panels for the top, bottom, sides, and possibly internal dividers.
5. Assembling the Case
-
Attach the Aluminum Extrusions: Rivet the aluminum extrusions to the edges of the panels to reinforce them. This also helps with aligning the panels.
-
Assemble the Body: Attach the side panels to the bottom panel using screws or rivets, ensuring everything is square.
-
Attach the Lid: Attach the top panel using hinges, making sure it aligns perfectly with the bottom part of the case.
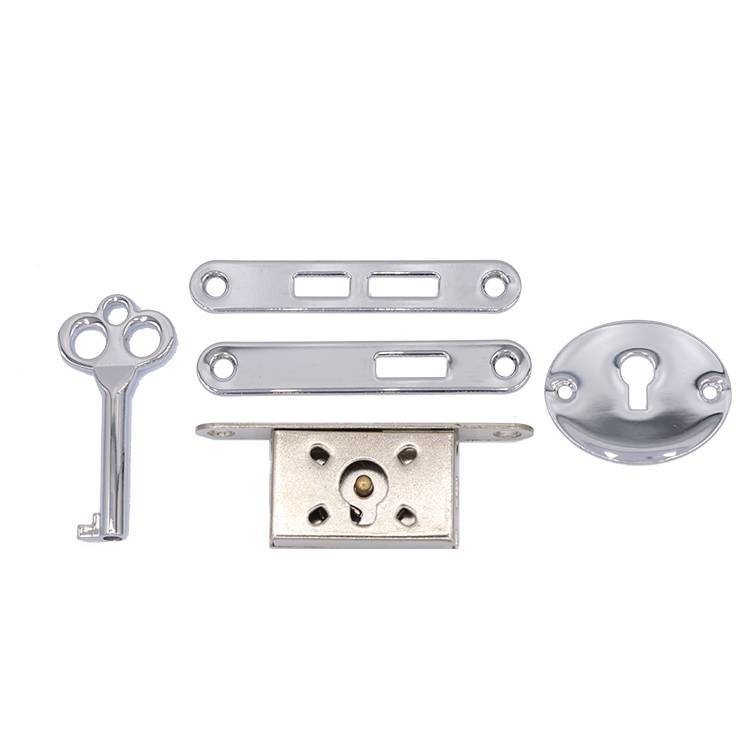
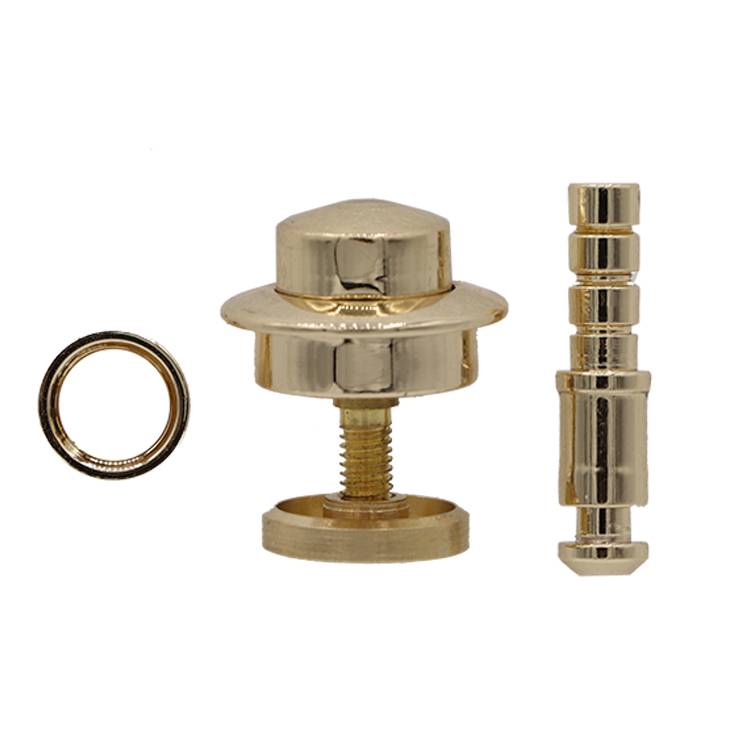
6. Installing Hardware
-
Add Lid Support Hinges: Install the lid support hinges inside the case to hold the lid open at the desired angle.
-
Attach Handles and Latches: Secure the recessed handles and butterfly latches to the case. Ensure that the latches align correctly between the lid and body.
-
Install Corners: Attach corner pieces or ball corners to protect the edges.
-
Add Casters (Optional): If you’re adding wheels, attach them to the bottom of the case.
7. Interior Padding
-
Cut Foam Padding: Cut the foam padding to fit the interior of the case, including any compartments or dividers you may have designed.
-
Secure the Foam: Attach the foam using adhesive, ensuring it fits snugly and provides adequate protection for the items inside.
8. Finishing Touches
-
Test the Case: Check that the lid opens and closes smoothly, the latches work correctly, and the case is sturdy.
-
Finish the Edges: Sand any rough edges, and add any finishing touches, such as paint or labels.
9. Final Inspection
-
Ensure that all parts are securely fastened and that the case meets your requirements for protection and ease of use.
Tips:
-
Precision is key when cutting and assembling the panels to ensure the case is sturdy and the lid fits well.
-
Double-check measurements before cutting to avoid mistakes.
-
Use high-quality materials for better durability, especially if the case will undergo rough handling.
Building a flight case can be a rewarding DIY project, especially if you need a custom solution tailored to your specific needs.